I recently took apart some old units, and salvaged quite a bit of hardboard from them which I put to one side until I could think of what I could use them for Wink . Before long, I'd decided I wanted to make a larger stone tile floor dio piece. If you want to make one yourself, you will need:
1 - A chipboard or plywood base (size is optional).
2 - some hardboard to cut 2"x2" tiles.
3 - Salastic glue.
4 - Sand or salt
5 - black and grey paint. I used Acrylic paint which I brush on.
6 - Some PVA glue.
7 - A few foamboard off cuts.
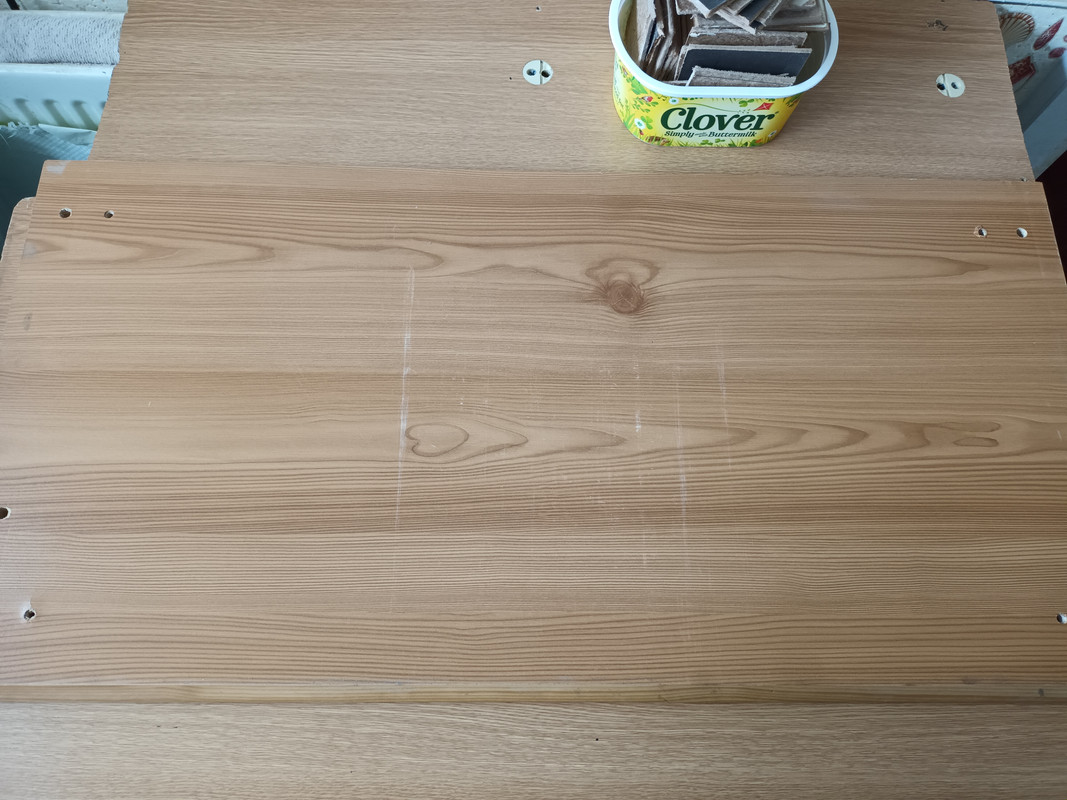
Step 1,
Find yourself an area you can leave your project where it won't be disturbed while drying.
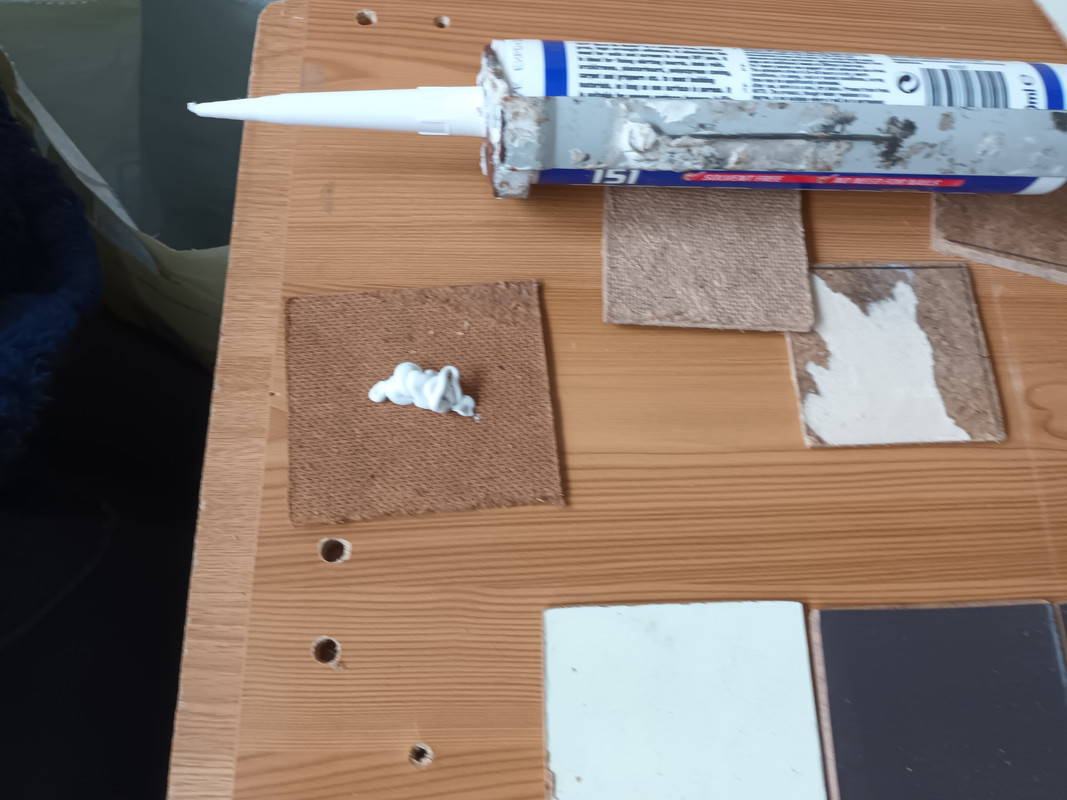
Step 2,
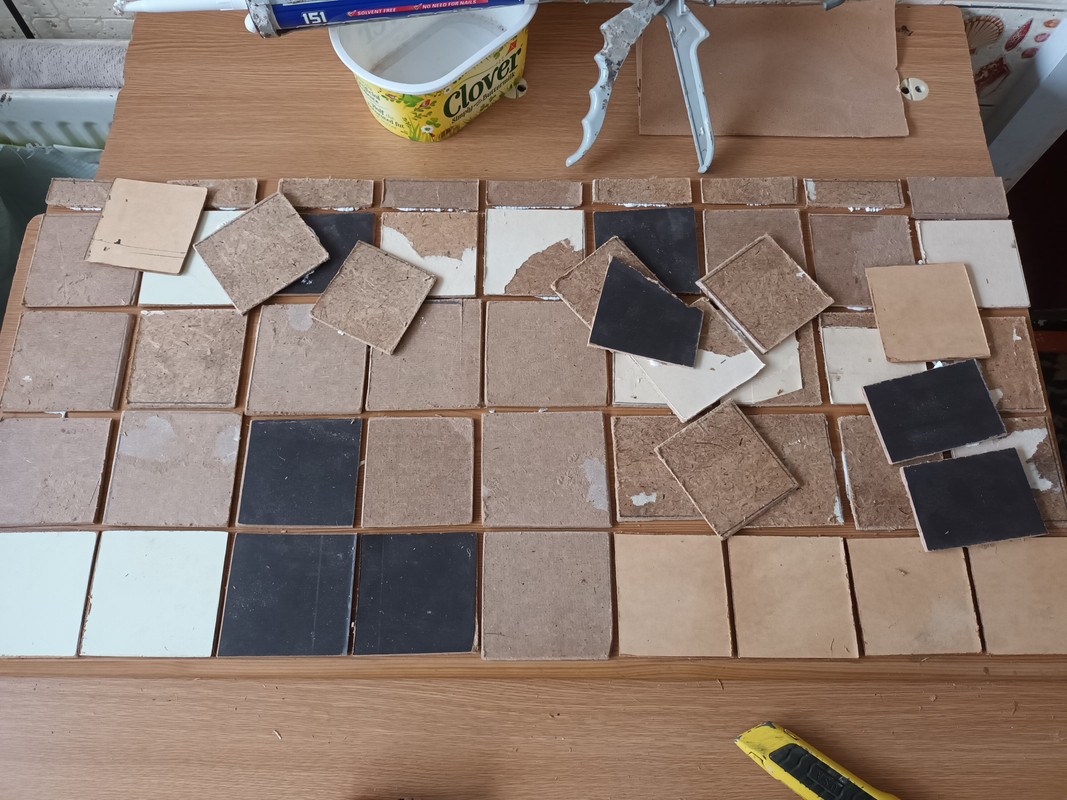
Grab your cut down hardboard tiles and sort them into sizes. Some of mine were smaller than others, so I tried to match them in close sizes for each row. When you're ready, squirt some salactic glue onto the bottom of each tile, then start to glue them into rows.
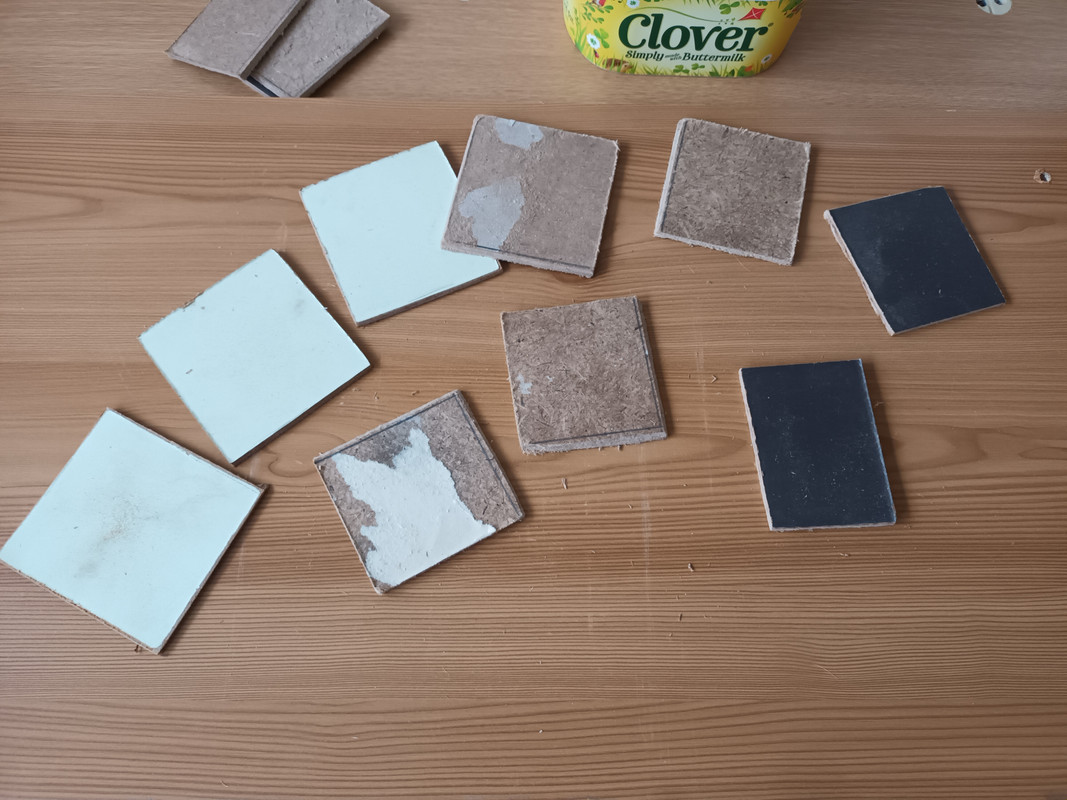
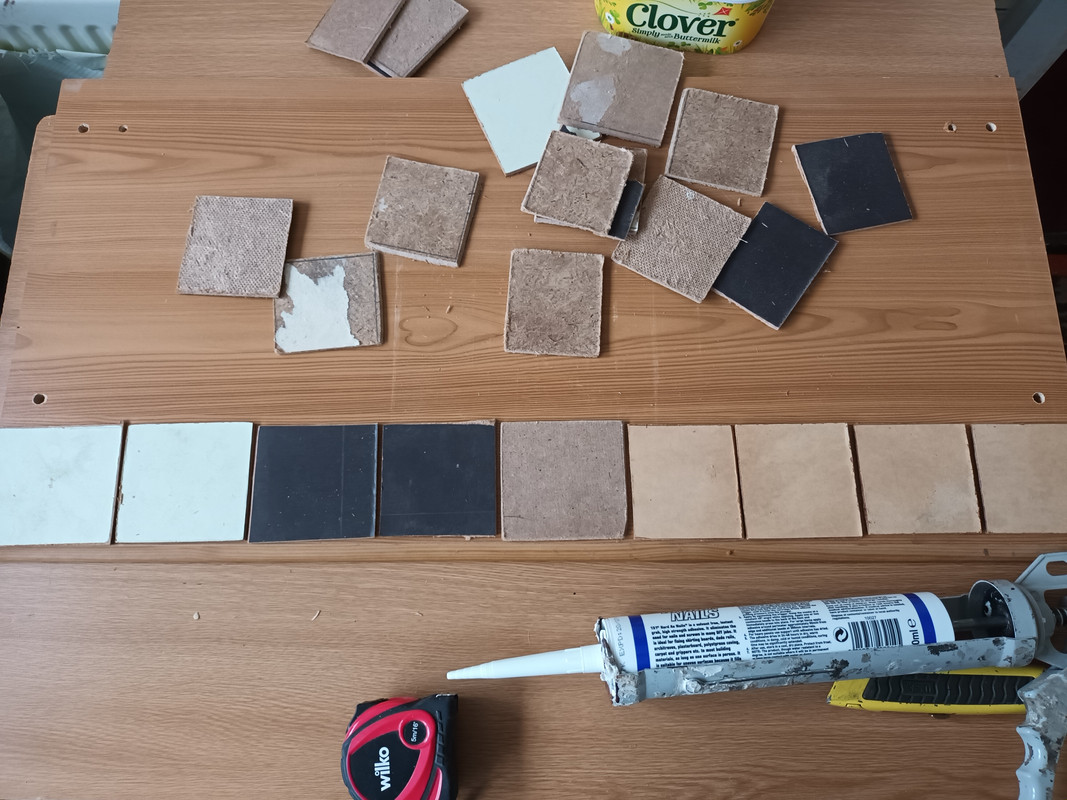
When I had all my rows, I had tiles left over, so I started making some loose and broken tiles. I also cut some small pieces of foamboard to create a couple of stone blocks.
Step 3,
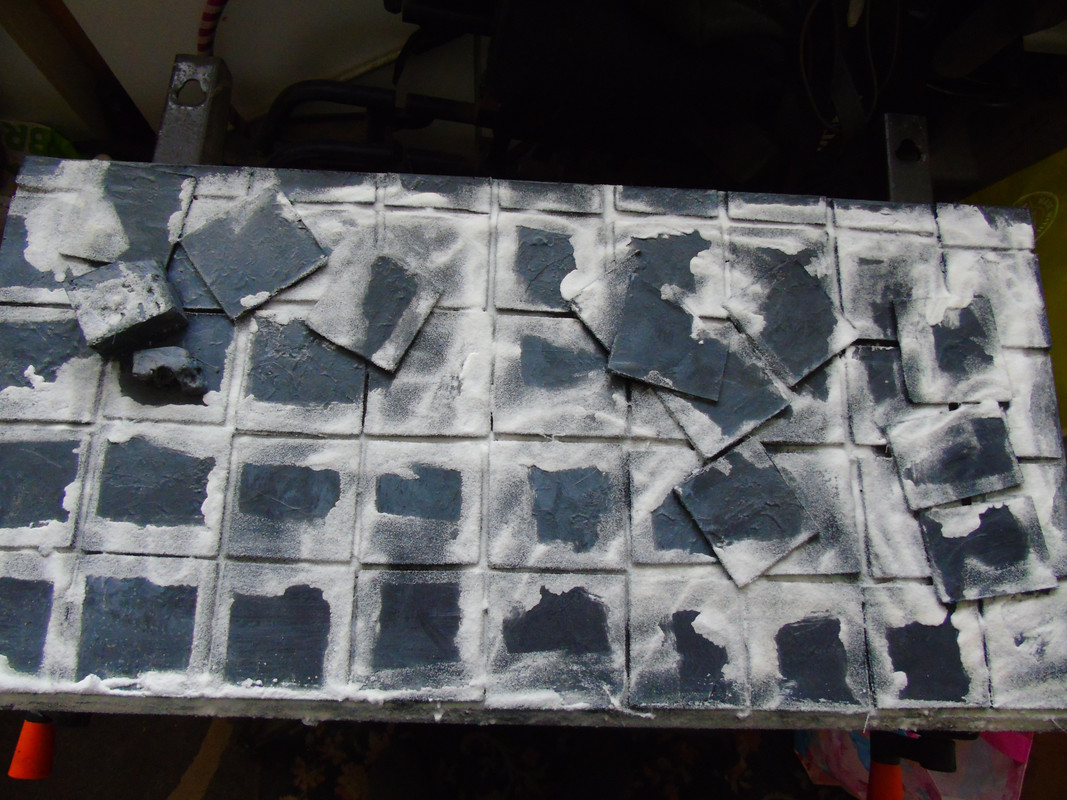
Paint the whole thing black, be careful to get into all the gaps. Once the paint is dry, paint some pva glue into the gaps and around the edges of the tiles. again, allow to dry.

Step 4,
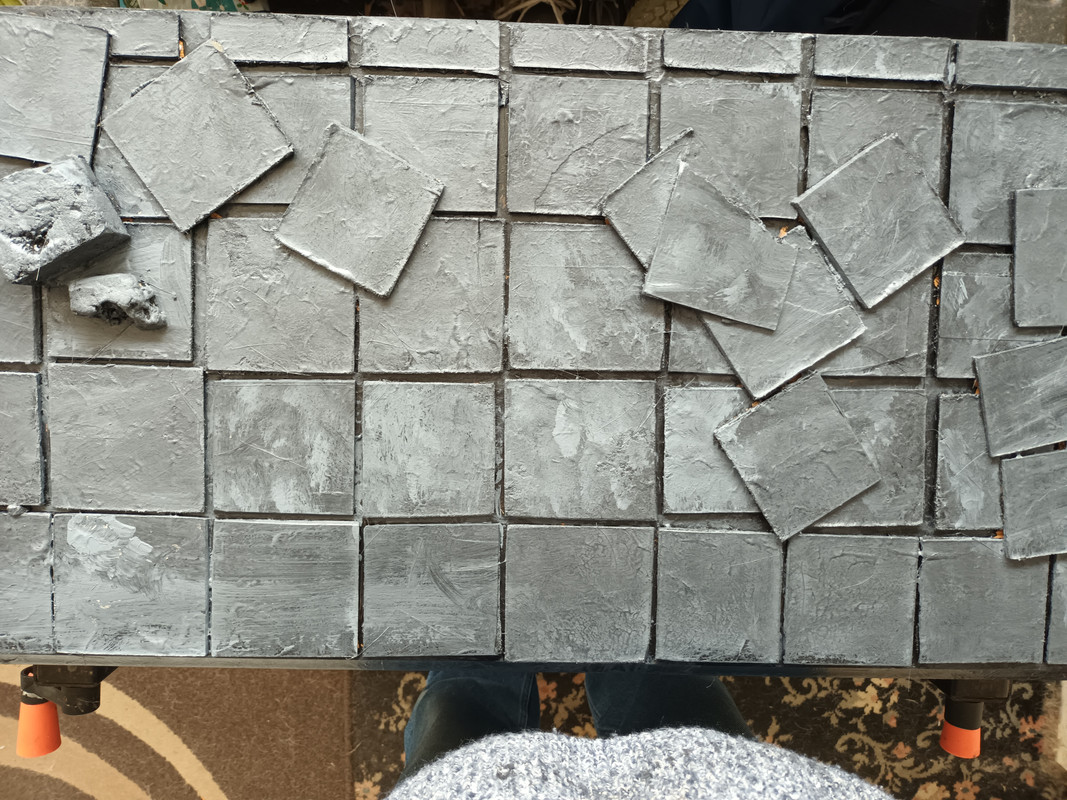
Mix up the desired colour of tiles, and paint the whole thing again. I also mixed up a grouting colour in between the tiles, but I forgot to take a pic of that stage . Once that is done, Mix a darker colour for the tiles you want them to look like, and begin to drybrush.
Step 5,
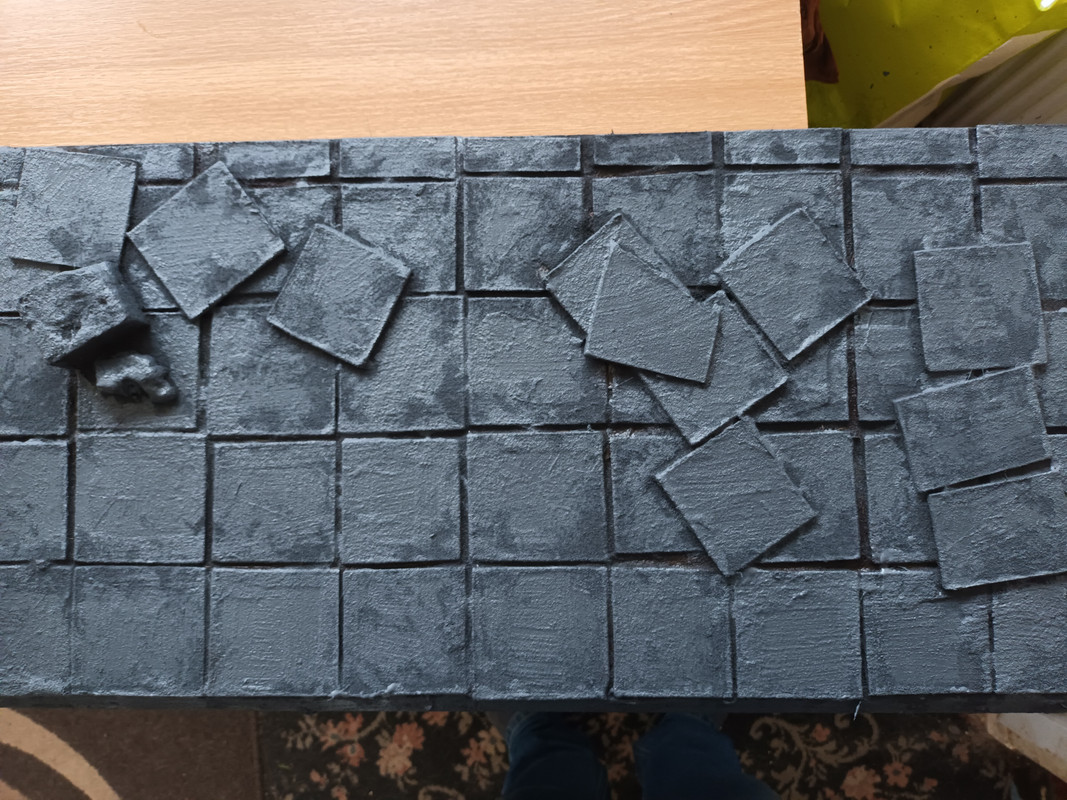
Mix up the final colour you want for your tiles. Then carefully dry brush the tiles only.

Hopefully by this stage you will have what you wanted.

Hope you guys found this useful, Thanks for looking
1 - A chipboard or plywood base (size is optional).
2 - some hardboard to cut 2"x2" tiles.
3 - Salastic glue.
4 - Sand or salt
5 - black and grey paint. I used Acrylic paint which I brush on.
6 - Some PVA glue.
7 - A few foamboard off cuts.
Step 1,
Find yourself an area you can leave your project where it won't be disturbed while drying.
Step 2,
Grab your cut down hardboard tiles and sort them into sizes. Some of mine were smaller than others, so I tried to match them in close sizes for each row. When you're ready, squirt some salactic glue onto the bottom of each tile, then start to glue them into rows.
When I had all my rows, I had tiles left over, so I started making some loose and broken tiles. I also cut some small pieces of foamboard to create a couple of stone blocks.
Step 3,
Paint the whole thing black, be careful to get into all the gaps. Once the paint is dry, paint some pva glue into the gaps and around the edges of the tiles. again, allow to dry.
Step 4,
Mix up the desired colour of tiles, and paint the whole thing again. I also mixed up a grouting colour in between the tiles, but I forgot to take a pic of that stage
Step 5,
Mix up the final colour you want for your tiles. Then carefully dry brush the tiles only.
Hopefully by this stage you will have what you wanted.
Hope you guys found this useful, Thanks for looking